

How To Draw A Flame Realistic
If you have been looking for a tutorial on how to depict fire, you have virtually certainly come up to the right place! Fires and their flames are dynamic, which tin can make drawing burn tricky, but we will help simplify exactly how to draw flames in this fantastic tutorial. Read on as we pause downwards, footstep by pace, everything y'all need to know about flame cartoon. Without any more than waiting, permit the states get correct into our step-past-stride guide! Recollect to have fun equally you let your artistic juices flow!
Table of Contents
- ane Stride-Past-Pace Guide: How to Draw a Burn down
- 1.one Art Supplies You Will Demand
- ane.2 Footstep i: Construction of the Flame
- 1.3 Step two: The Offset Flares
- 1.four Footstep 3: Calculation Shape
- 1.5 Step 4: The Inner Flames
- 1.6 Footstep five: Finishing Outlines and Shape
- 1.7 Step six: Sparks and Smaller Flames
- 1.8 Step 7: Coloring in Your Flames
- one.9 Step 8: Blending Colour and Creating Highlights
- two Oft Asked Questions
- 2.1 Will This Guide Teach Me How to Draw Fire?
- 2.ii How Do I Draw Fire Realistically?
- 2.3 How Long Will It Take to Describe Burn down?
Pace-By-Stride Guide: How to Draw a Fire
Burn drawing has proven to be quite tedious and difficult for many artists, even those who are quite skilled. A reason for this could be considering fire is then dynamic – information technology has no set shape or definition and is quite unpredictable, shifting and reshaping constantly. A burn down sketch can be even more difficult to chief thank you to the fact that burn is somewhat translucent, so information technology tin besides be confusing to see exactly where the flame ends and the air begins.
For this how-to, our burn cartoon is going to be simpler and more stylized, enabling you to depict a fire that volition be easily recognizable.
Art Supplies You Volition Need
This tutorial can be completed either on a graphic drawing tablet or with the more traditional method of using pen and newspaper. If you are currently on the market for a tablet, cheque out the Gaomon Graphic Drawing Tablet. If you would prefer to complete your fire sketch on paper, here are some products we recommend you purchase in order to create a high-quality flame cartoon:
- Paper: Canson Forty Serial Mix Paper Pad
- Line Work: Misulove Professional Drawing & Sketching Pencil Fix
- Colour: Prismacolor Premier Colored Pencils
- Eraser: Mr. Pen Eraser Gear up
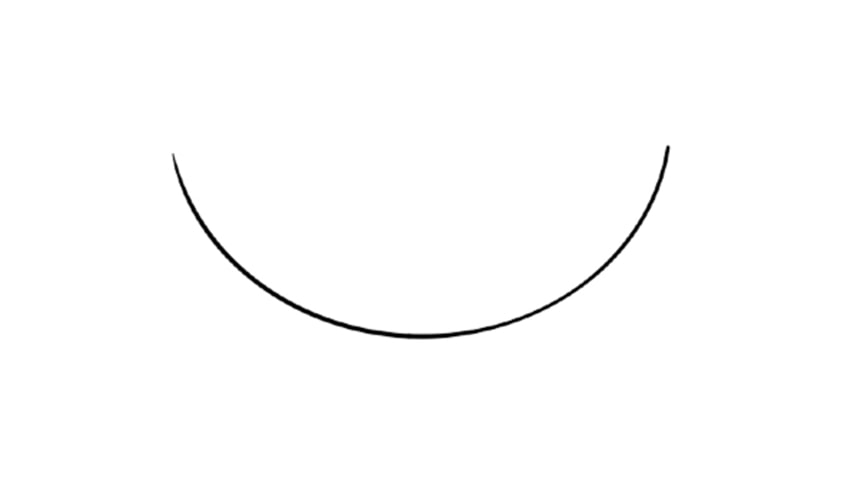
Stride one: Construction of the Flame
If you lot are familiar with and have followed any of our drawing guides in the by, yous will know that as per our tutorials, we always begin our sketches with what is known as construction lines. These lines construct the shape of what we are cartoon, which in this example, is a fire cartoon.
For our burn down sketch, the first shape that will exist fatigued is a one-half-moon shape. It volition be representative of the base of operations of the fire, also known as the "belly" of the flame. Ensure that you place your half-moon shape on the folio'due south bottom center, allowing you enough infinite on the page for the rest of your flame drawing.
A very important thing that you must remember in this initial step is that the one-half-moon shape is simply the start – and so much more will nonetheless exist added!
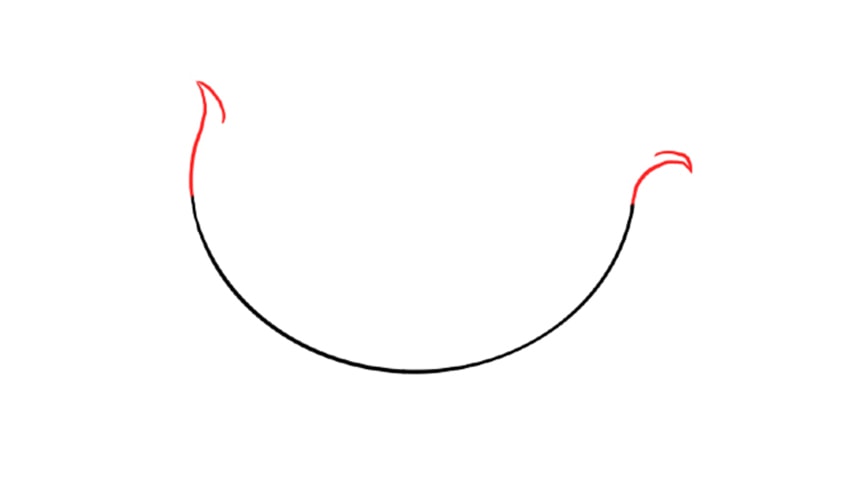
Step two: The Start Flares
In the second step of this fire drawing tutorial, nosotros will draw the offset points of the flame'due south flare. Y'all will draw 1 flared point on both the right- and left-hand sides of the half-moon shape. Each point of flare should dip outwards and then inwards while curving sharply towards the pointed role. Each of these curved shapes will cease with a sharp betoken. Remember, because fires are not brackish, both sides should non mirror one another nor should they exist symmetrical. Fire is non perfect!
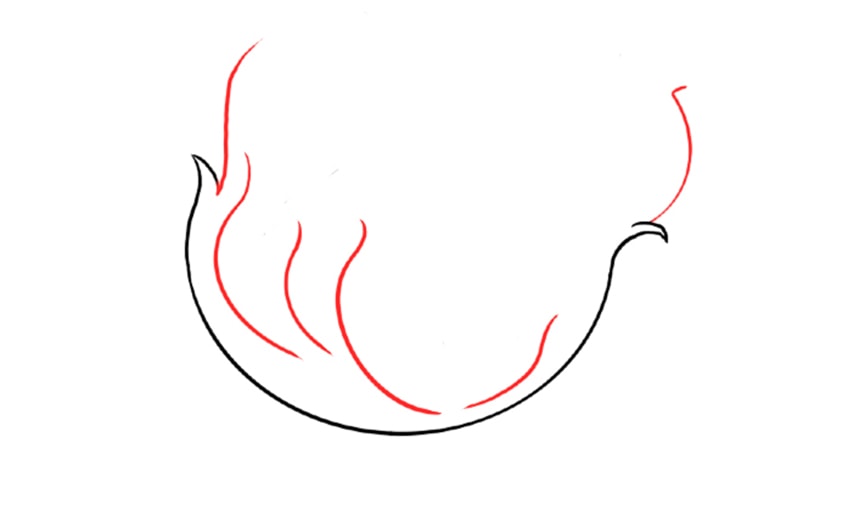
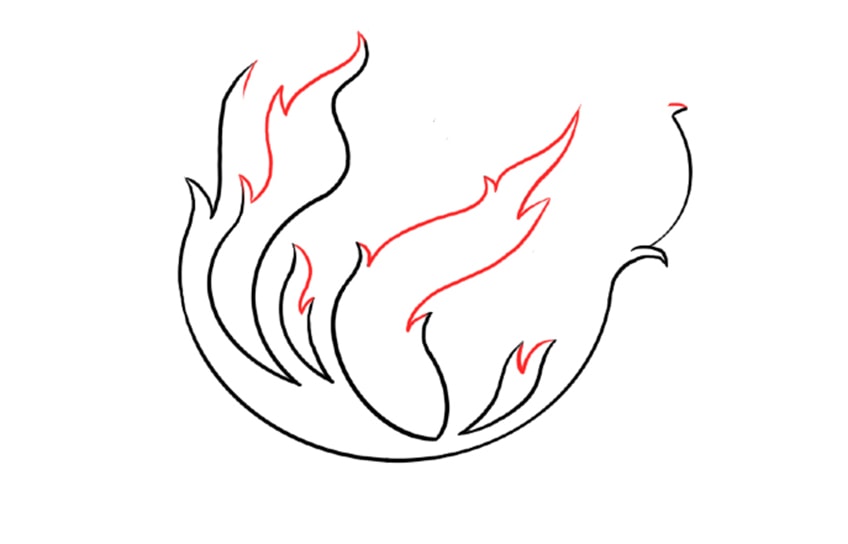
Stride 3: Adding Shape
As you continue with our guide, y'all may notice that this tutorial allows for total freedom and self-expression in your sketch. This step is where you volition exist adding more height to your burn. This is done by adding another i or maybe two lines on both sides. Because you are drawing burn down, make certain that these lines are curved. You tin choose to replicate the shape we have drawn in our example, or, if you are feeling up to it, you tin draw your burn down freehand and make it more than unique.
Equally you learn how to draw flames, recall that each and every flame is unique and not-identical to the next. Feel free to express this throughout your drawing.
During this part of the tutorial, yous will also begin calculation some defining lines within the body of the flames you have drawn. These lines are to be added within your existing lines and should naturally curve in the same manner, although you tin can deviate them e'er so slightly.
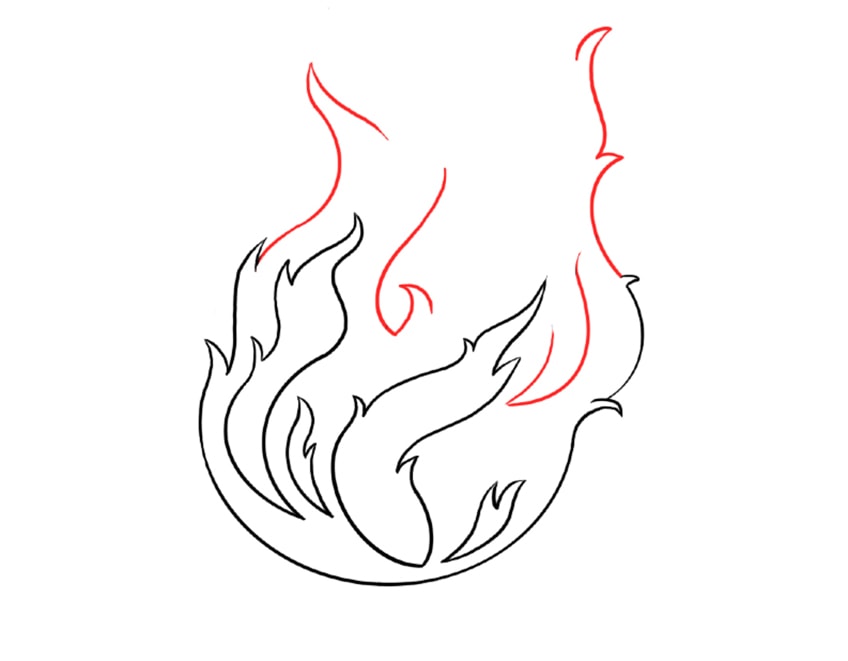
Step 4: The Inner Flames
Just as burn down is so unpredictable, so are its flames! The shape of the flames of a fire can be difficult to capture. We advise that yous just go with the flow as you draw freehand, allowing for a variety of arches and curves within the flame.
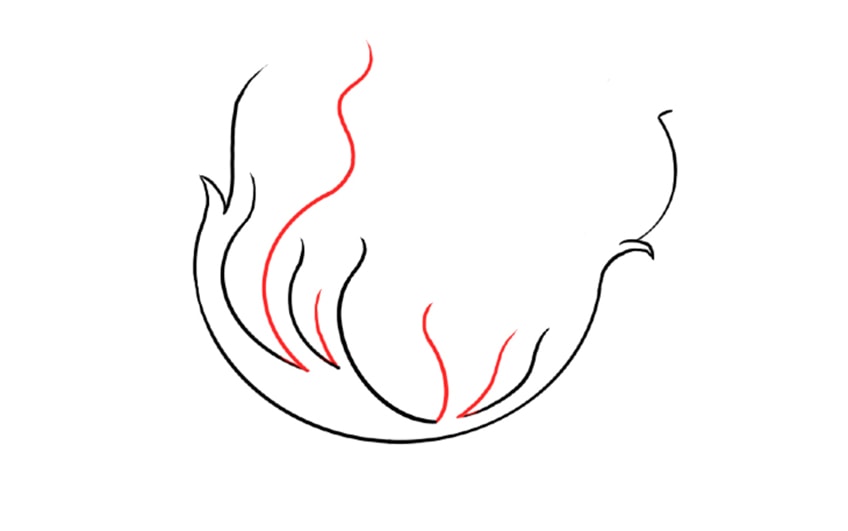
The sharp and pointed ends of each flame will connect your curved lines, but like the offset two yous drew in the second step. Yous will notice now that there are multiple smaller flames inside your main fire, and that all these flames are based in the belly of the fire.
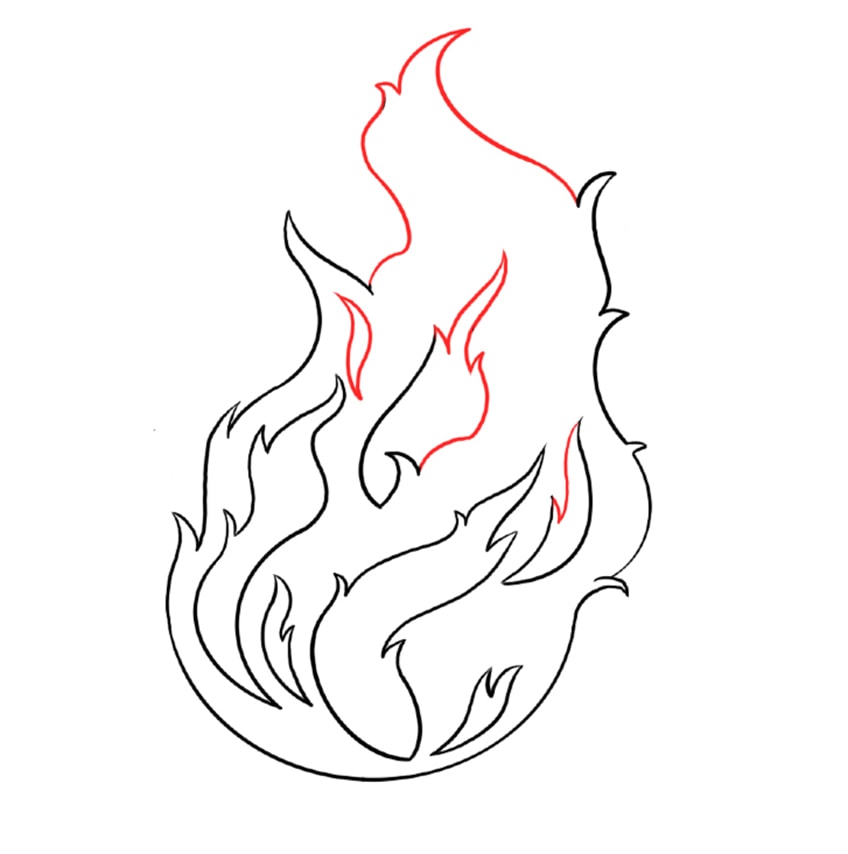
Step 5: Finishing Outlines and Shape
The outline of your fire will be completed during this fifth step, both within the flame and the principal flame. Starting in the belly, you will now draw a few small flames. Yous can choose to practice as many or equally few piddling flames as you want – it is completely upward to you! Remember, too much detail can actually hurt your drawing and hinder the last product – a elementary case of less is more! If yous are drawing on paper, be sure to use a pencil so that you tin erase if necessary.
Be patient with yourself, equally this pace can be a little more than tedious. Do not behave on with your fire drawing unless you are entirely happy with it.
At present, you should add together some more than vertical but slightly curved lines to finish off the very tip of your burn'south flame. Feel free to add some additional sharp points or some squiggles here and there. You can re-create our fire as is, or brand yours more unique by using your inventiveness. Only think that the fire's tip is very important and should exist a singular sharp point right at the top. You should be left with a final shape for your burn, and nosotros trust that yous are happy with your design. Accept a look at our completed final shape below.
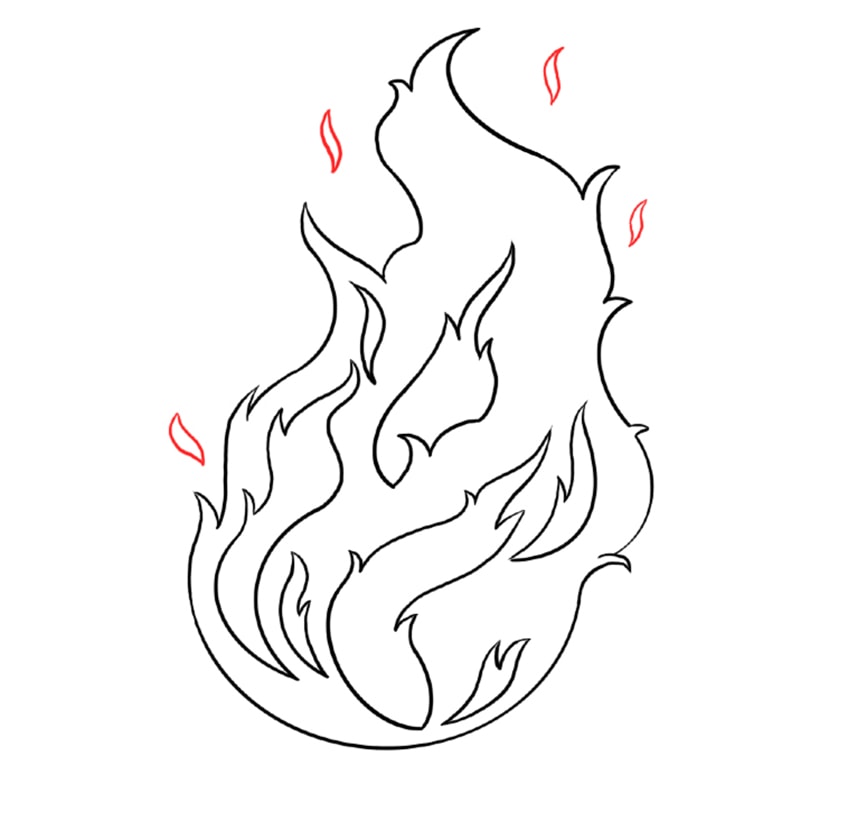
Pace 6: Sparks and Smaller Flames
Now is the time to add together a more than realistic flair to your fire drawing! This is quite a simple step: All that needs to be washed are a handful of Due south-shaped flames forth the edges of your master fire. You tin can use your discretion every bit to how many or how few "S" shapes yous prefer to add. Exactly where they will be positioned is too entirely up to yous.
Step 7: Coloring in Your Flames
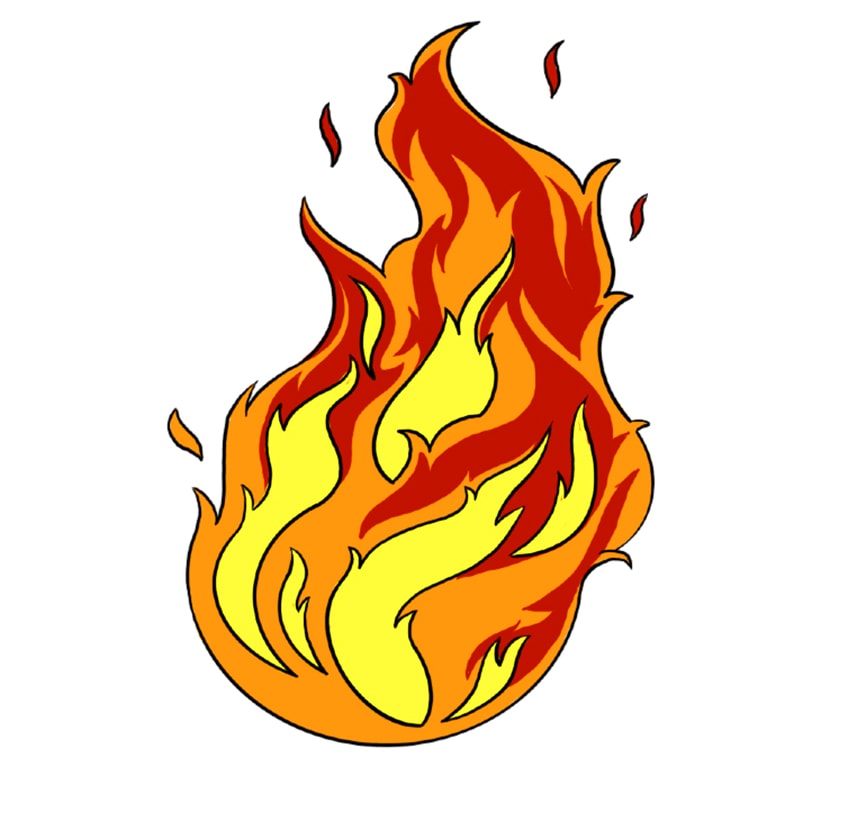
Step number seven – the second terminal step on how to draw fire. By now, your flame is practically done. This is the most exciting pace considering this is where y'all will exist adding color. Think, a fire has three basic simply vibrant colors. The 3 colors that volition be used to stand for your flame are yellow, orange, and of class, red. You can determine on the shades you volition use for each.
The yellowish color will be the hottest role of your burn down, which is the center of your flame. Next, comes orange, which is the burn's base of operations color. Reddish will exist used in the shapes towards the top of your burn.
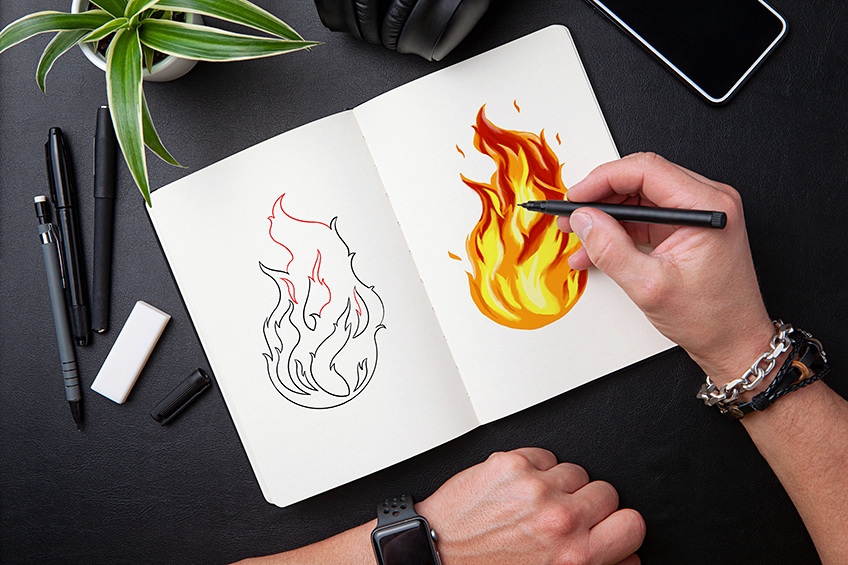
Call back, it is a expert idea to try replicating your flame's inner outline (the xanthous office) with a red pencil to help it look more realistic in the finish. At present, if you want, you can consider your burn down drawing to be done, provided you lot are happy with it looking less realistic and more cartoon-like. Should yous prefer a more realistic fire, keep on to step eight!
Step 8: Blending Colour and Creating Highlights
If you accept chosen to brand your fire look more realistic, this last step will help you achieve information technology. In this stride, we volition exist doing some blending and calculation just a little touch of white on the yellow and inner flames of your fire, likewise as forth the pocket-size curves of your main flame.
We will also be calculation a bear upon of white pencil in the small sparks. Using white will give your fire a three-dimensional effect and make it announced to be a lot hotter. If you are using a graphic tablet, utilise your brush tool to alloy the colors together. If yous take drawn your fire past mitt, you can also use a castor to do this. By blending, you are essentially taking away those ridged lines that outline your burn down, allowing it to seem far more realistic!

And you are done with our fire drawing guide! We trust that yous have not only learned how to depict fire but that y'all are happy with your end result! While information technology can be intimidating and a little hard to describe fire, you now take the basics downward and should take no outcome drawing more flames in the future, both in a drawing style and realistically!
Frequently Asked Questions
Volition This Guide Teach Me How to Draw Fire?
Most definitely! This step-by-step tutorial is intended to teach y'all everything you demand to know to help you lot sketch burn down, both in a realistic way, or if preferred, in a cartoon style.
How Practice I Draw Fire Realistically?
Fire can be a rather complicated matter to describe, so we accept included how to make your cartoon fire into a more than realistic ane in the final step of our easy tutorial. Our steps are super simple and piece of cake to follow.
How Long Will It Take to Draw Fire?
Even if this is your first fourth dimension drawing a fire, it should not take yous besides long to understand and get into the rhythm. This tutorial is very like shooting fish in a barrel to understand and quite short, too.

Source: https://artincontext.org/how-to-draw-fire/
Posted by: leclairformar.blogspot.com
0 Response to "How To Draw A Flame Realistic"
Post a Comment